With eBill, you can effortlessly manage and pay your Uber invoices digitally, eliminating the hassle of paper receipts and ensuring a seamless, eco-friendly experience.
Activate Uber as an invoice issuer is quick and easy. In just three simple steps, you can streamline your billing process and start receiving your invoices directly via eBill.
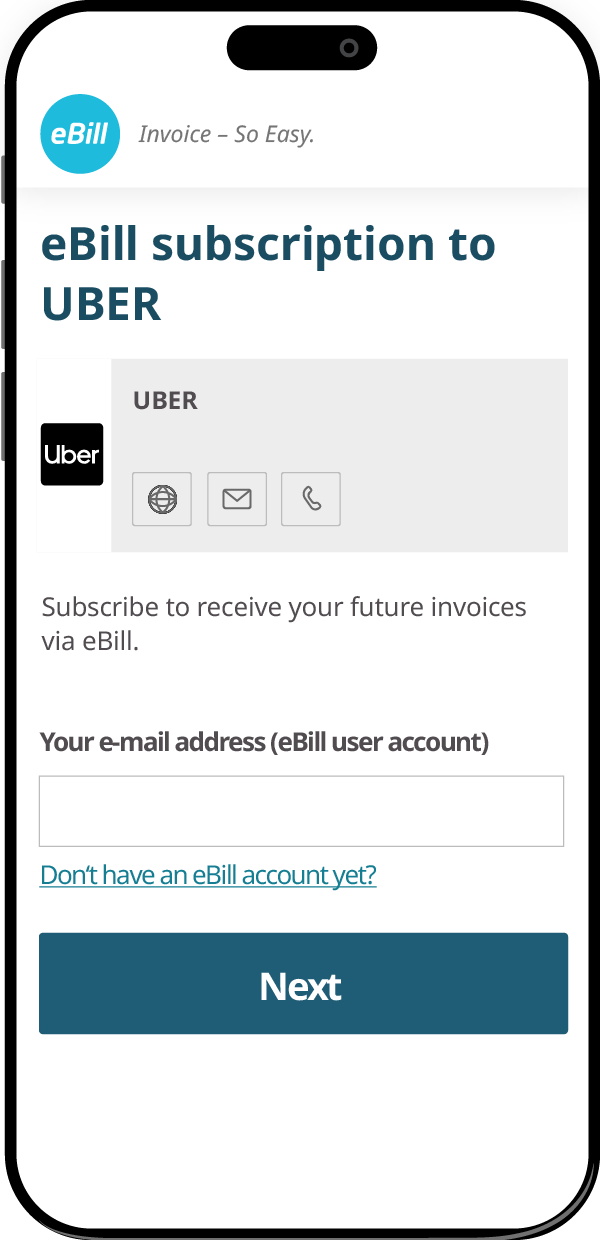
Getting started is easy! Simply click the button below, enter the email address linked to your eBill account, and click „Next“ to continue.
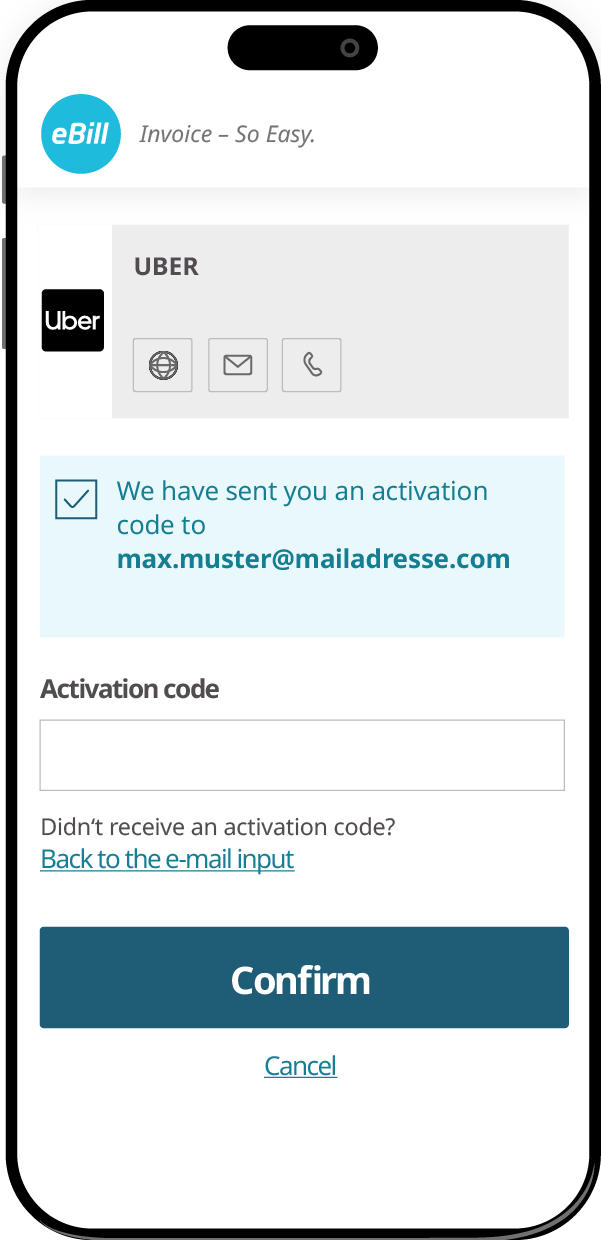
You’ll receive an activation code via email. Enter the code in the designated field and click „Confirm“ to proceed.
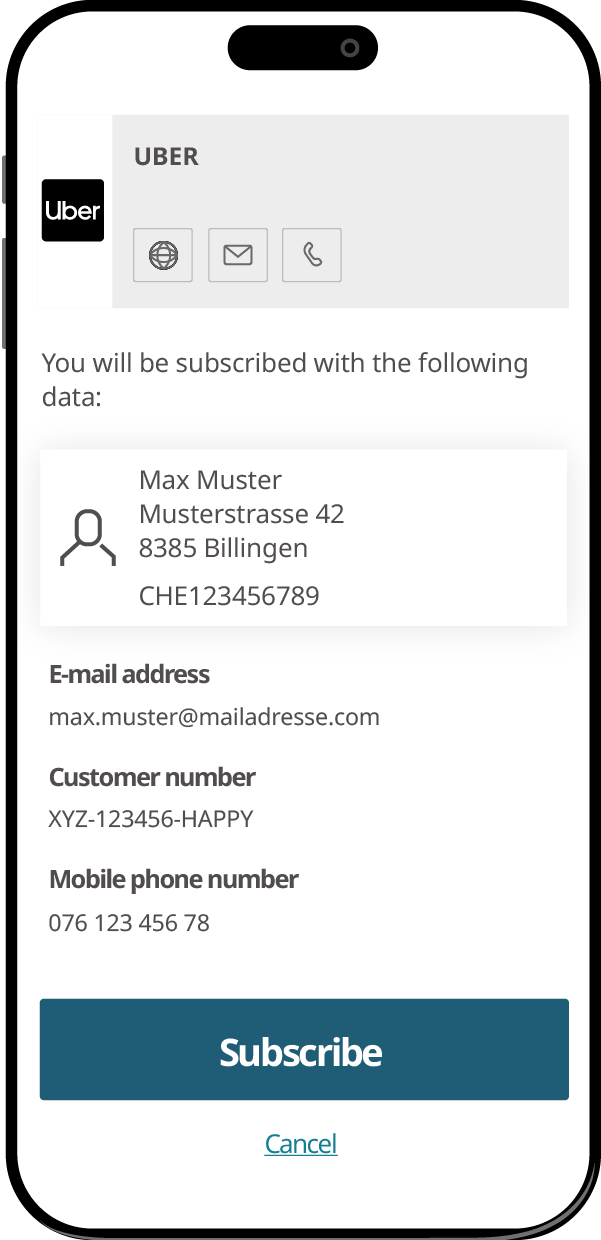
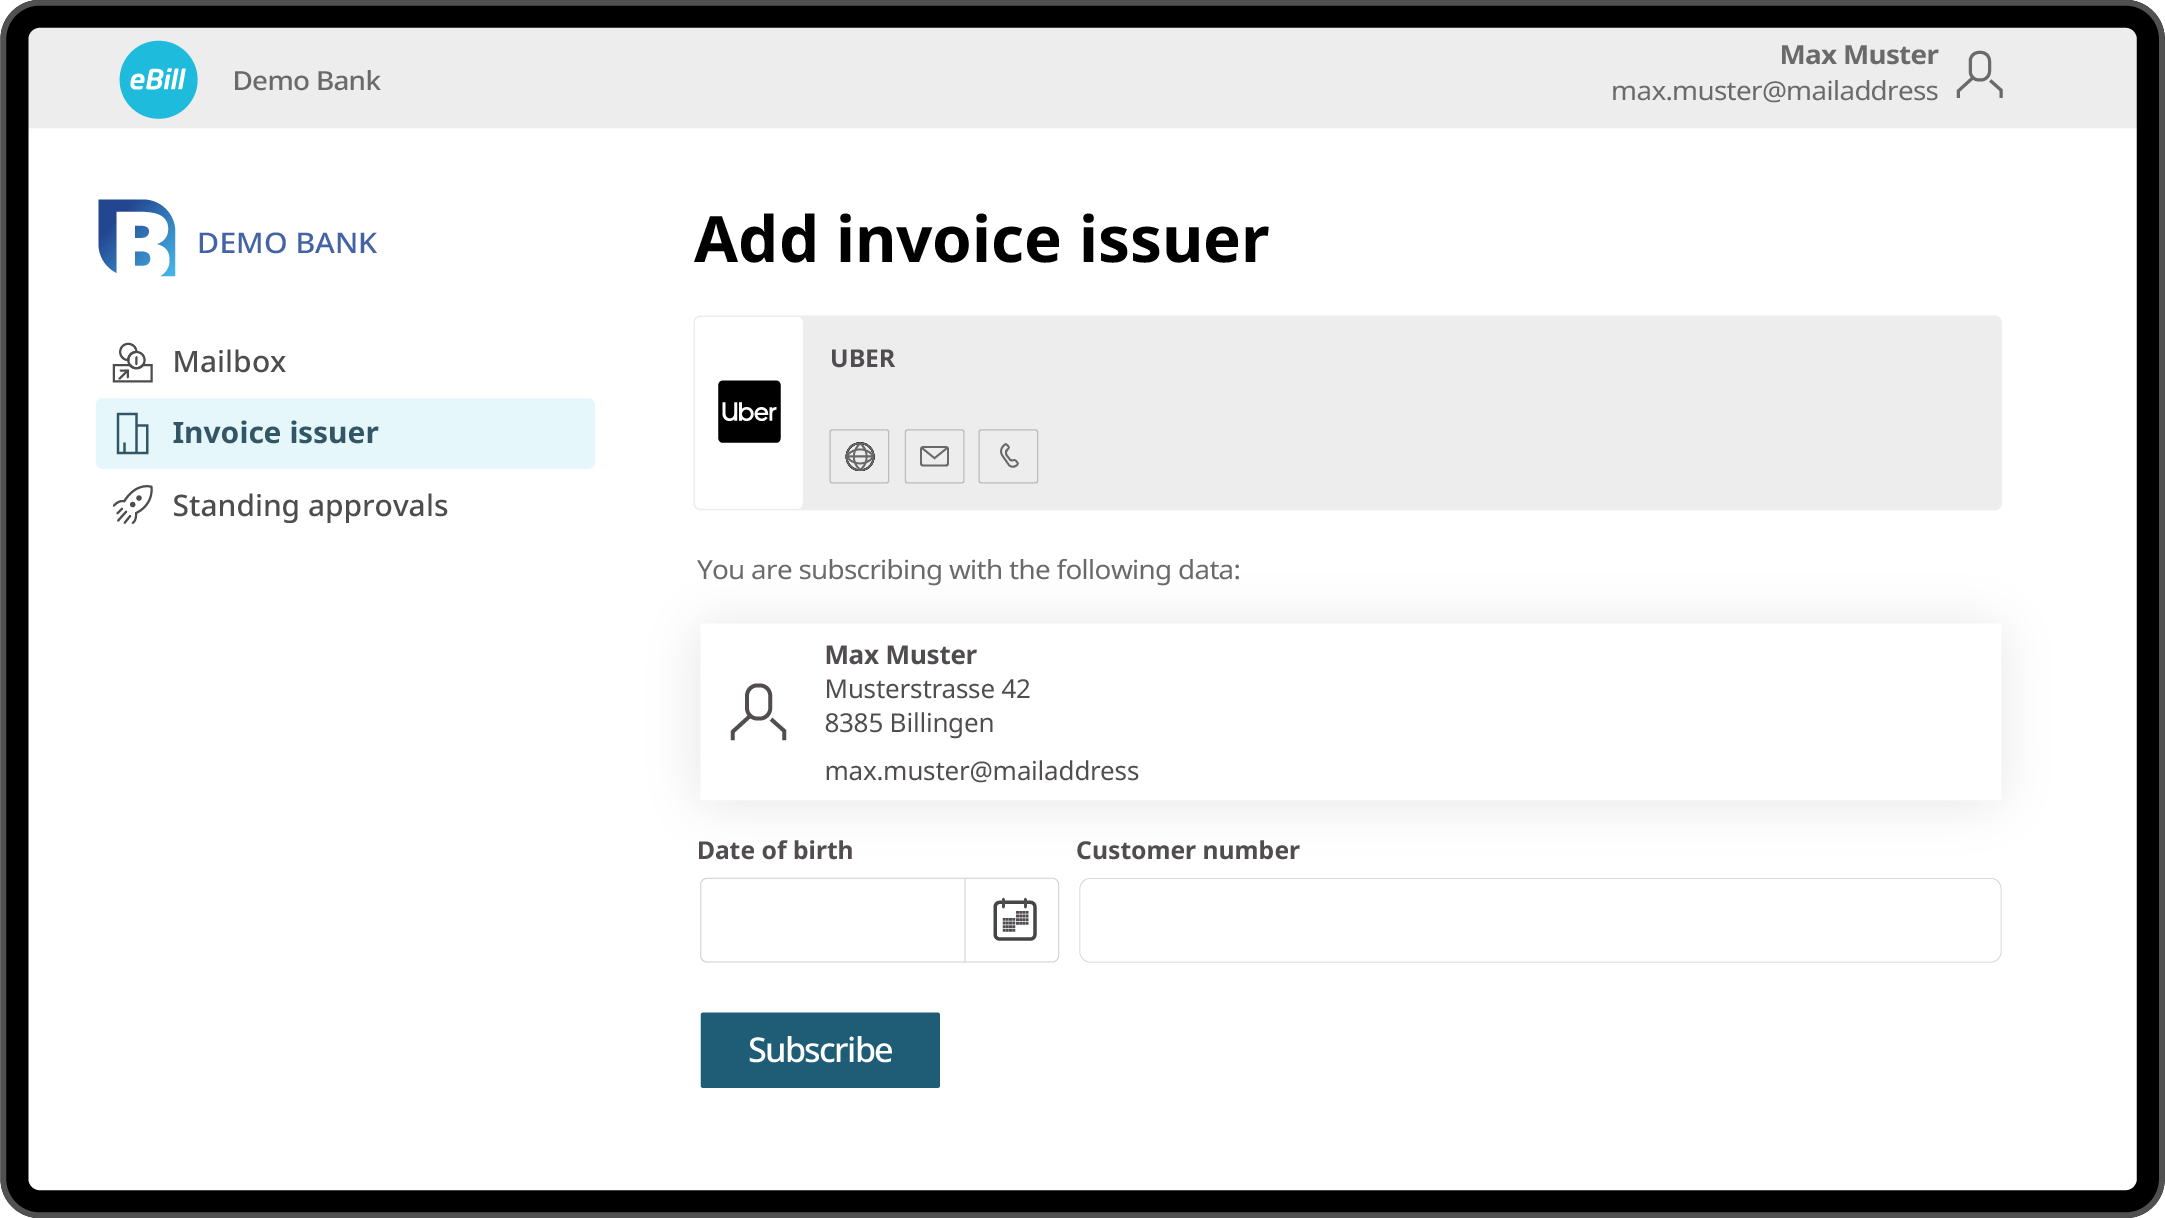
Review your details to confirm. Then, click the „Sign In“ button to add Uber as an invoice issuer to your eBill account.
Alternatively, existing ebill customers can of course also add Uber as invoice issuener via their online banking.
Log in to your bank’s online banking as usual.
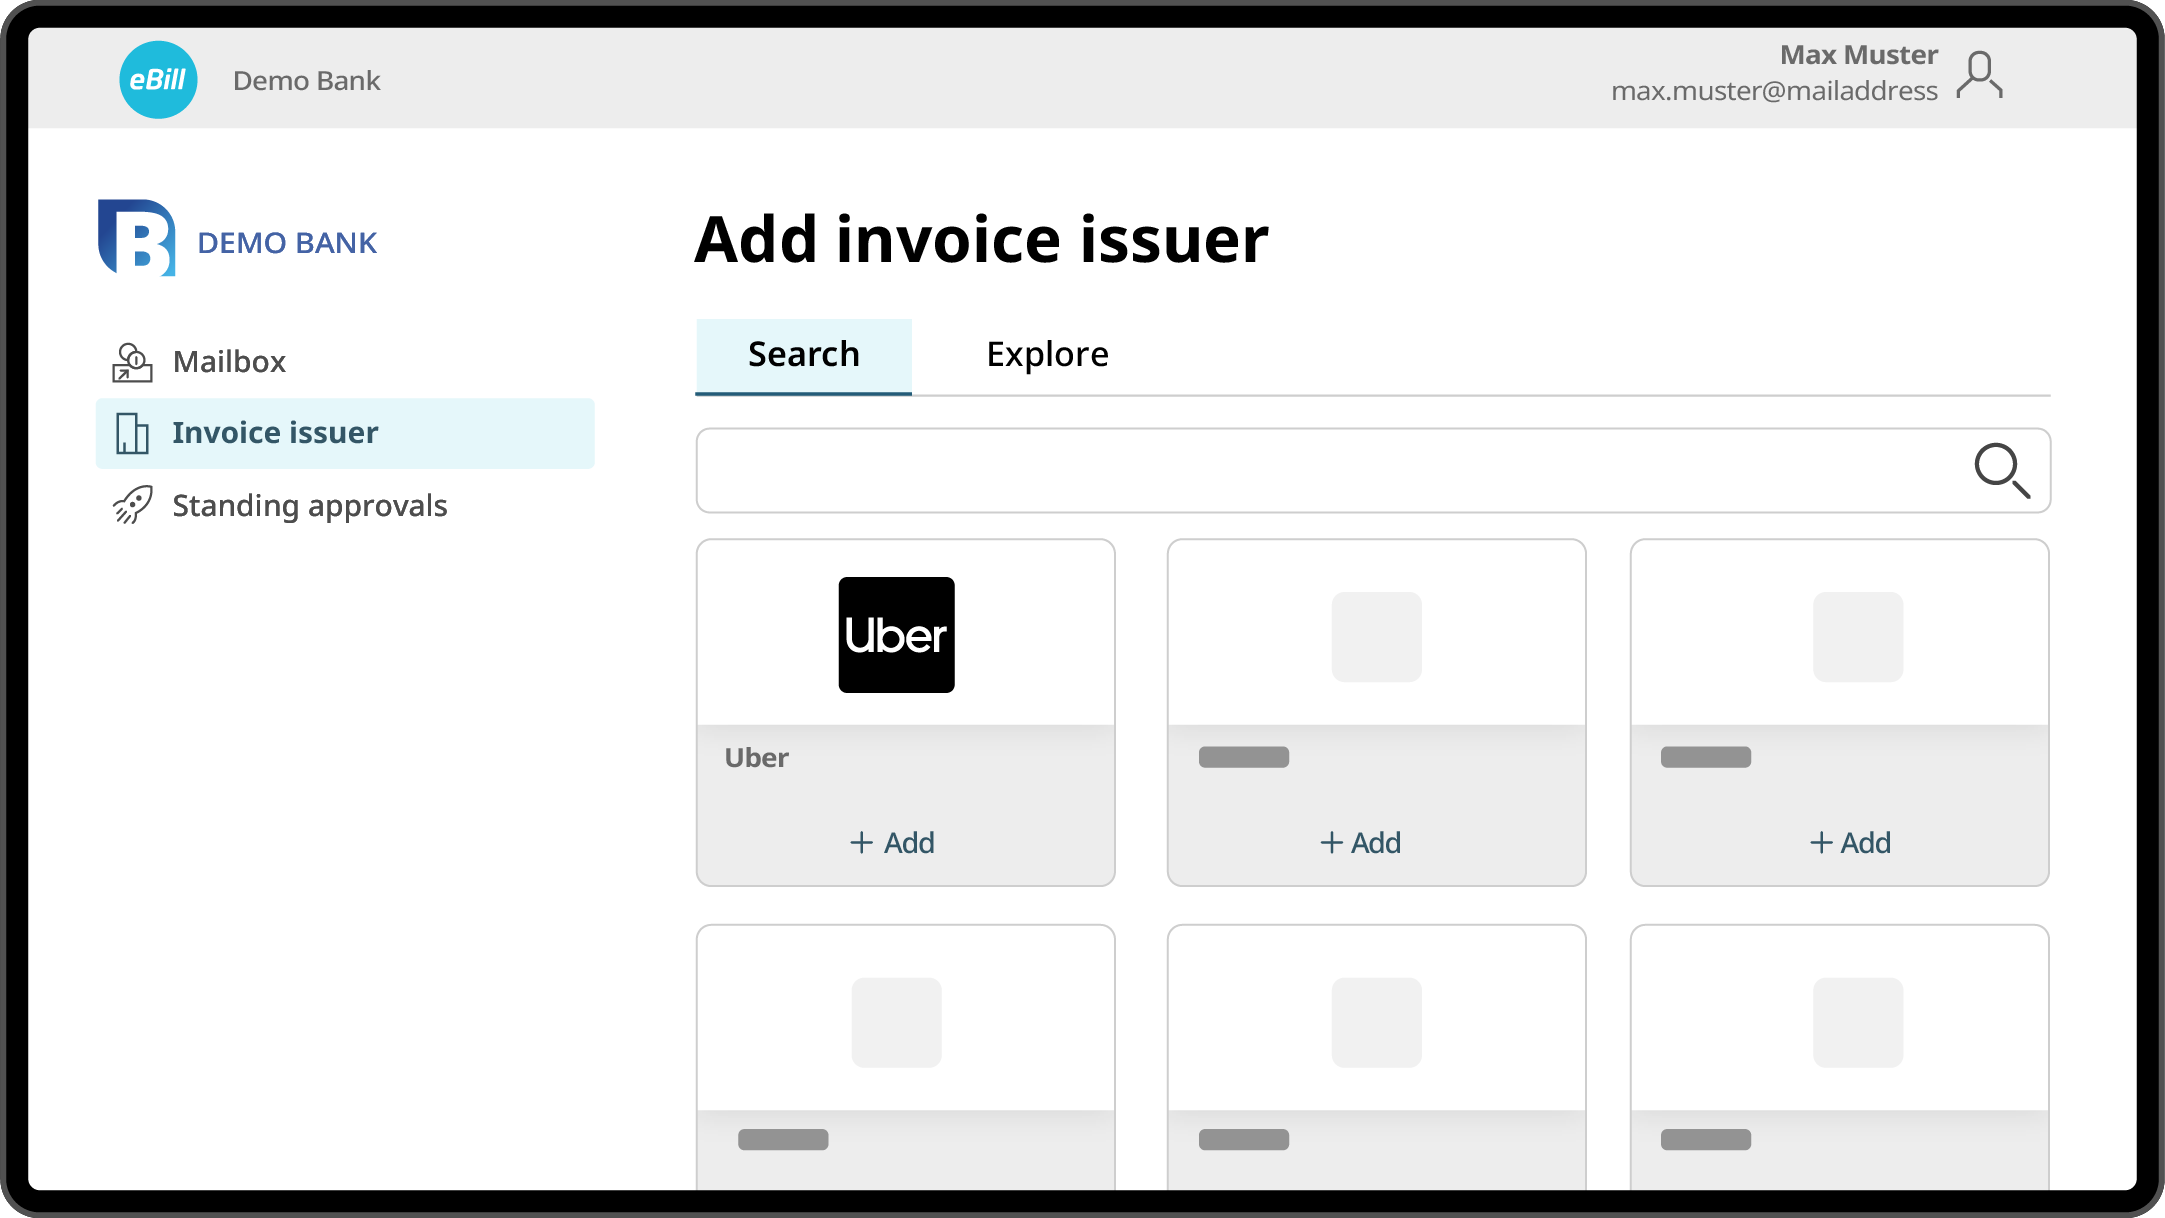
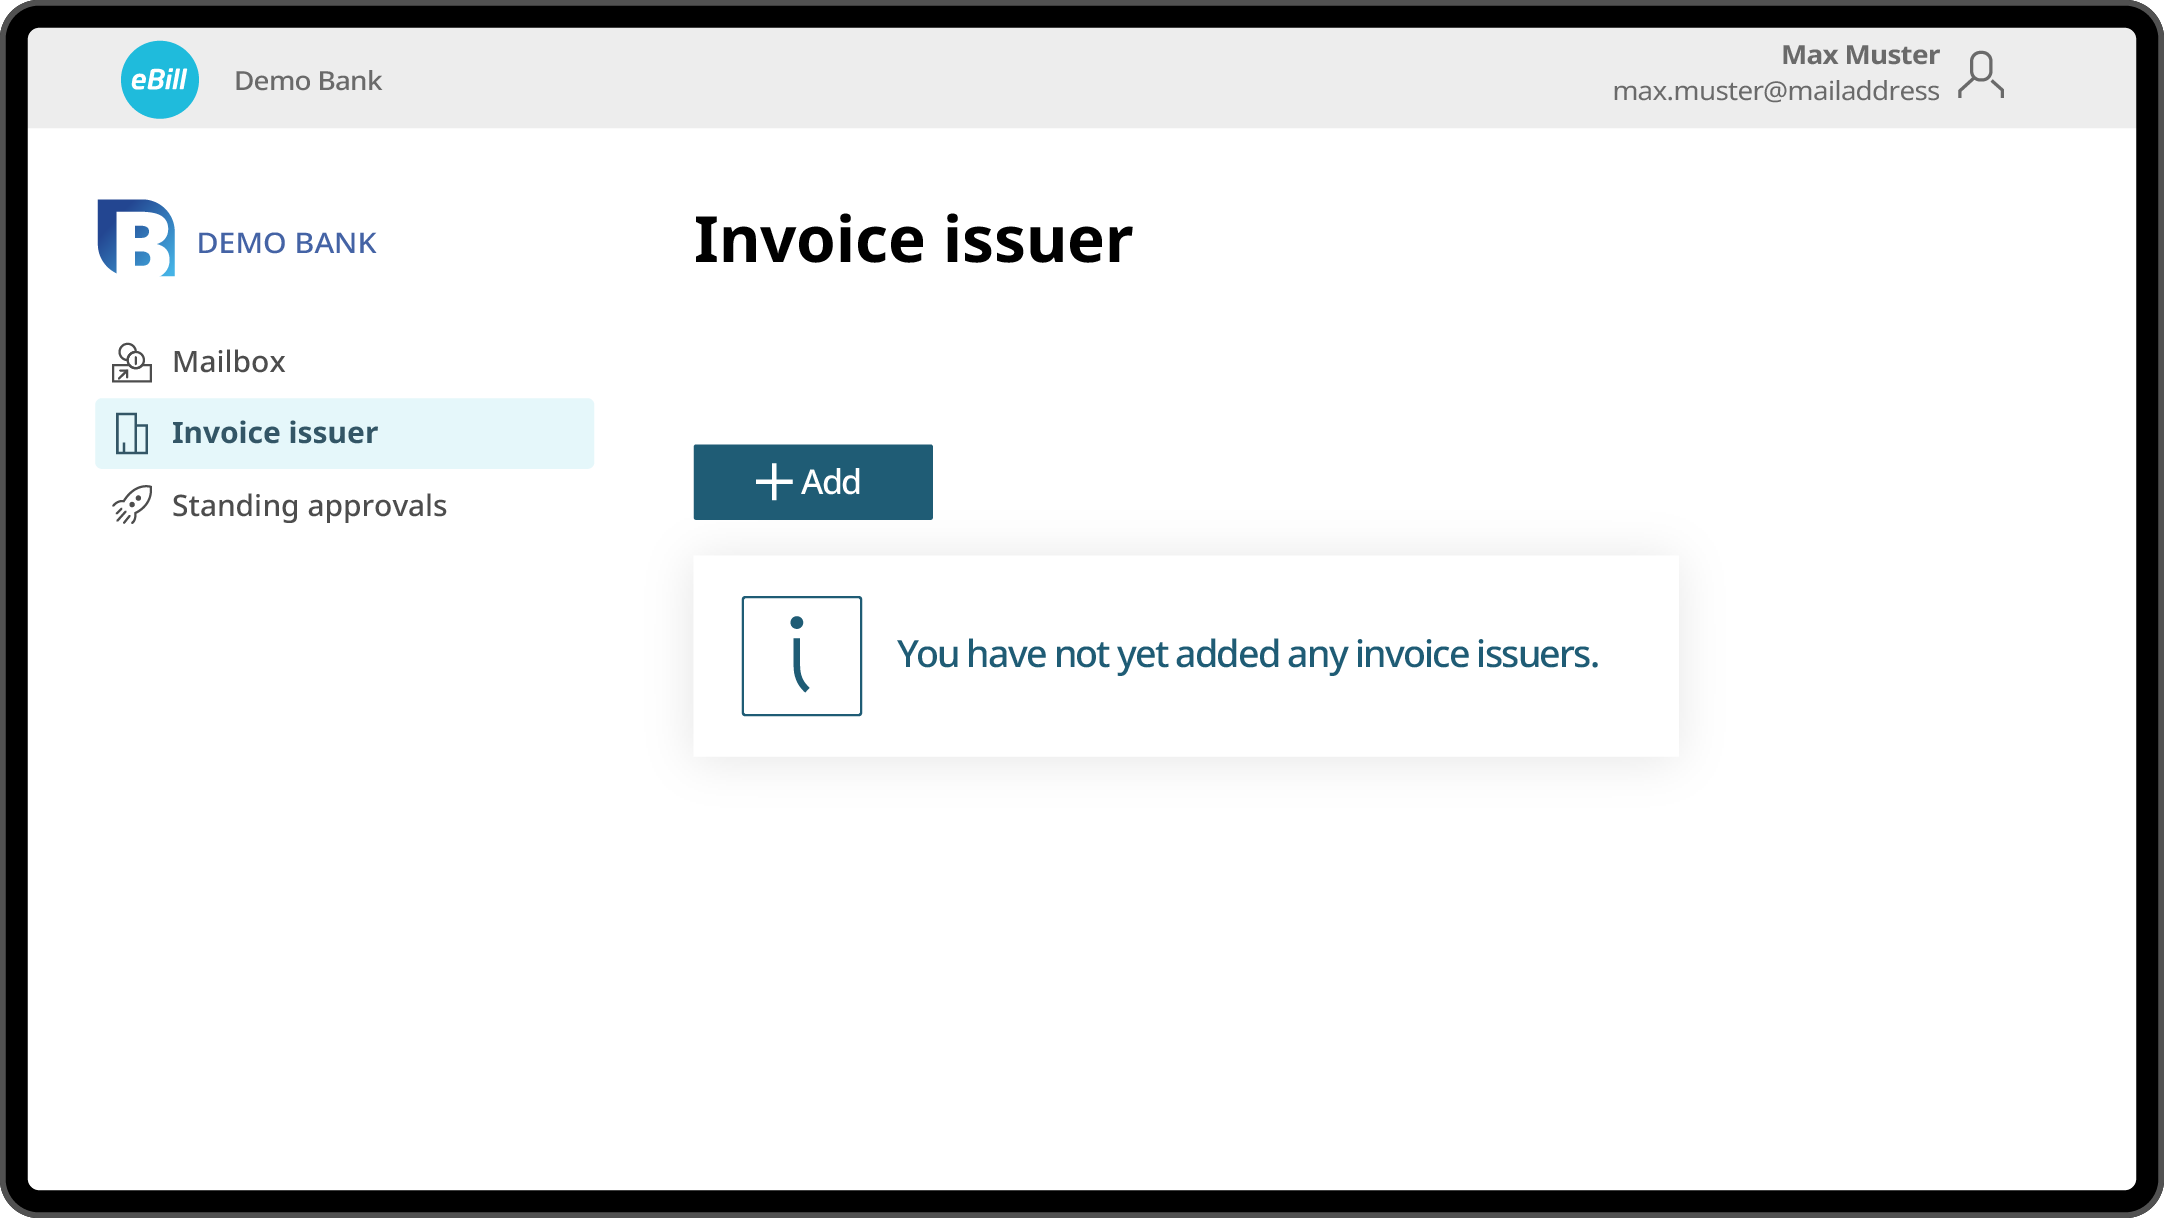
Locate the ‚eBill‘ option in the ‚Payments‘ menu, then search for ‚Uber‘ to activate it as an invoice issuer. The interface should resemble the screen on the right.
Add invoice issuers from whom you would like to receive invoices via eBill in the future and use additional features as required.


